

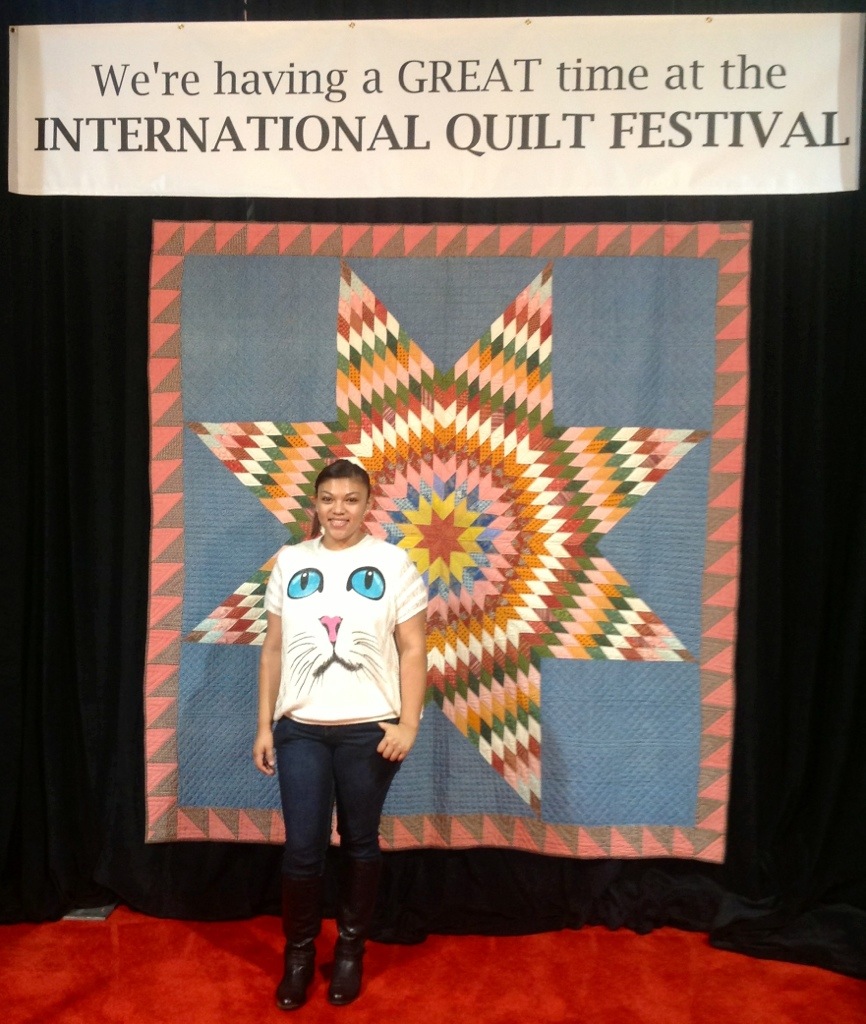
I just got back from The Quilt Festival’s preview night and, MY GOODNESS, I NEVER WANTED TO LEAVE! 🙂
So many nice people, so many beautiful quilts, kits and patterns!!! I’m so glad I decided to buy the package weekend tickets!
I met so many nice people and will soon post about what I bought, what I will be featuring and creating tutorials and many more pictures!
In the meantime, I will show you how I made my little fabric keychains to promote my new blog. Enjoy!
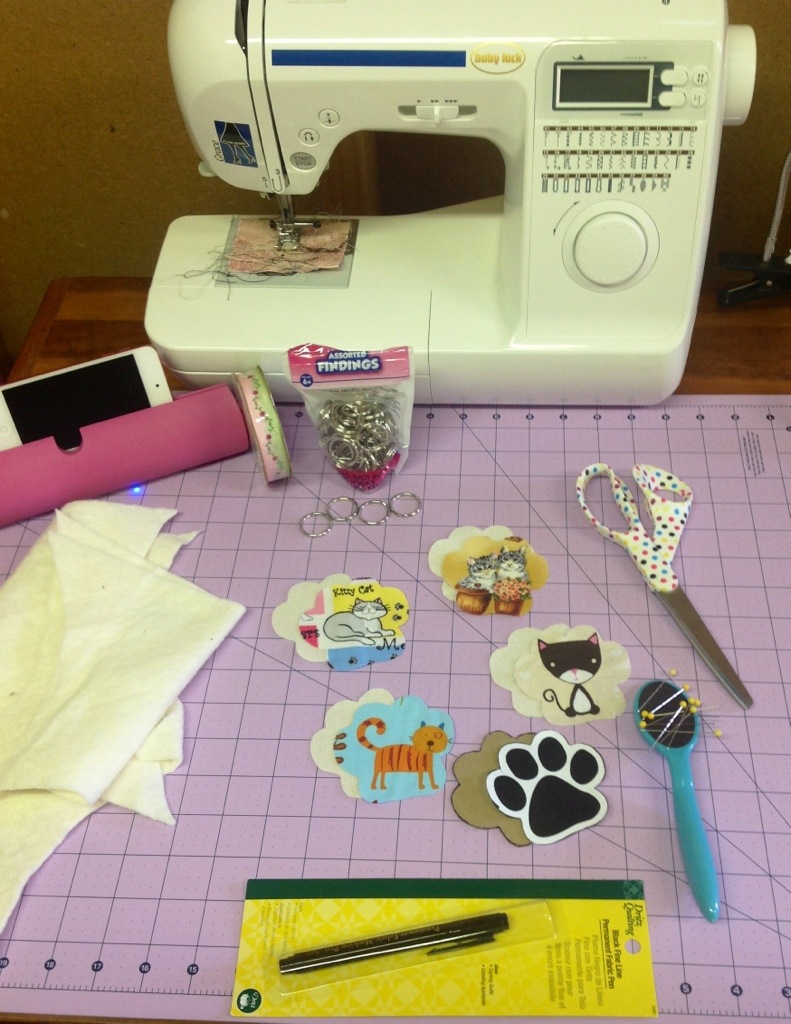
What you need:
– scraps of fabric
– scraps of batting
– pattern or cutout design
– hard stock paper
– scissors
– removable marking pen (to trace cutout on fabric)
– needle pins
– ribbon
– key rings
– permanent fabric marker
– sewing machine
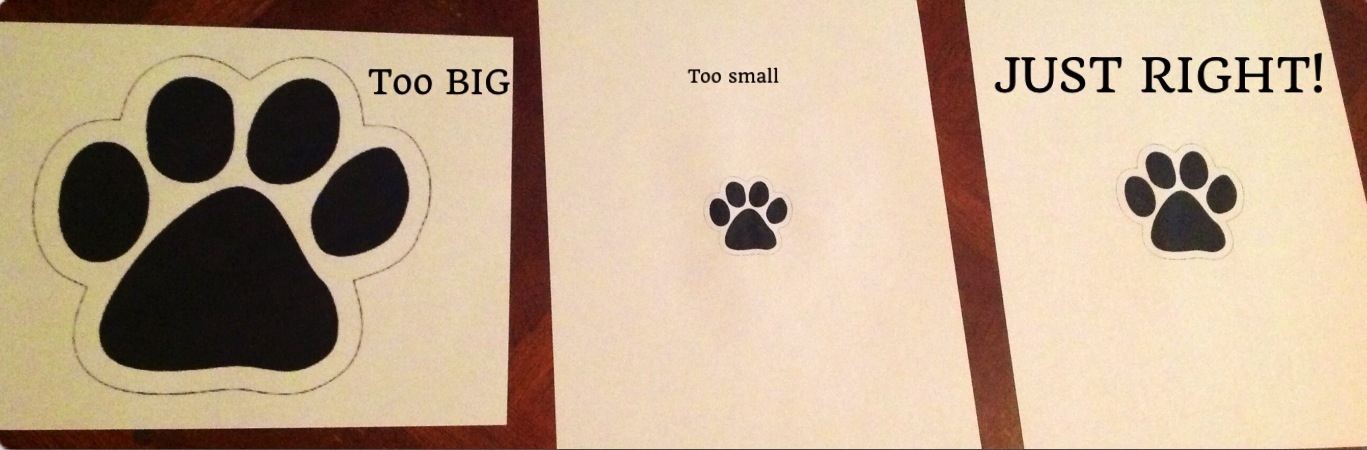
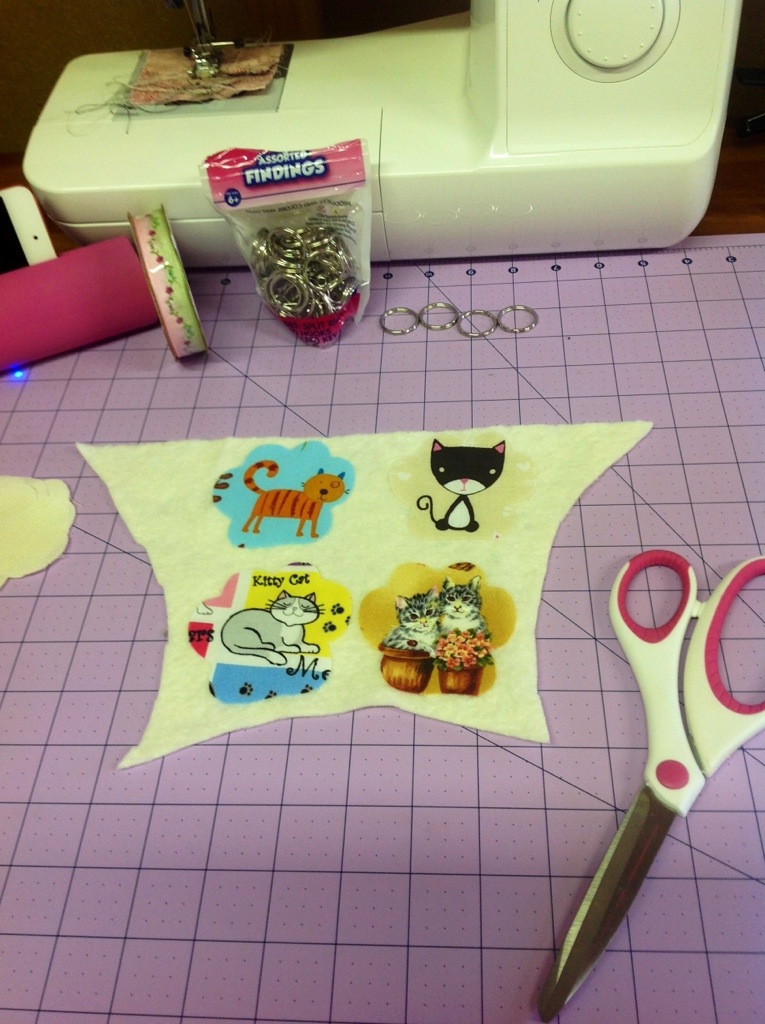
1. Determine whether you’re going to make rectangle fabric keychains or pick another design. I decided to look for a kitty paw design (SHOCKER) and found this. Make sure that you check your printers settings, I printed the paw print twice before I could get it just right! 🙂
I cut out my paw print and then traced it onto a piece of hard stock paper, keeps longer when tracing on your fabric.
This particular cutout is a little under 3 inches, a perfect size keychain if you ask me 🙂
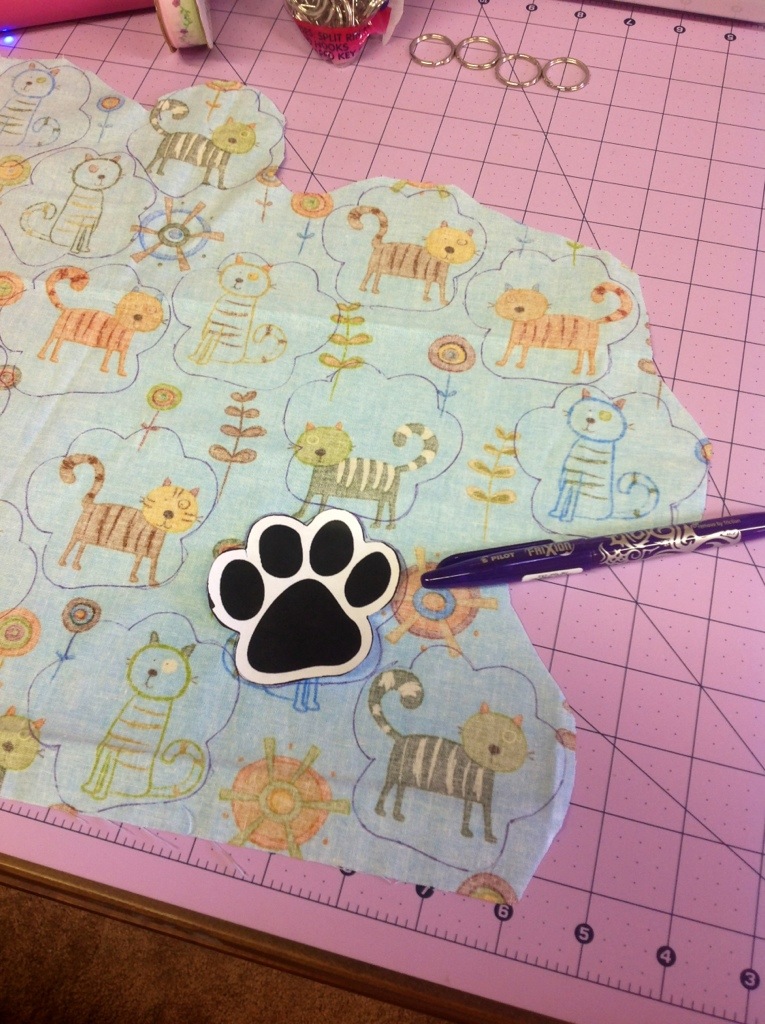
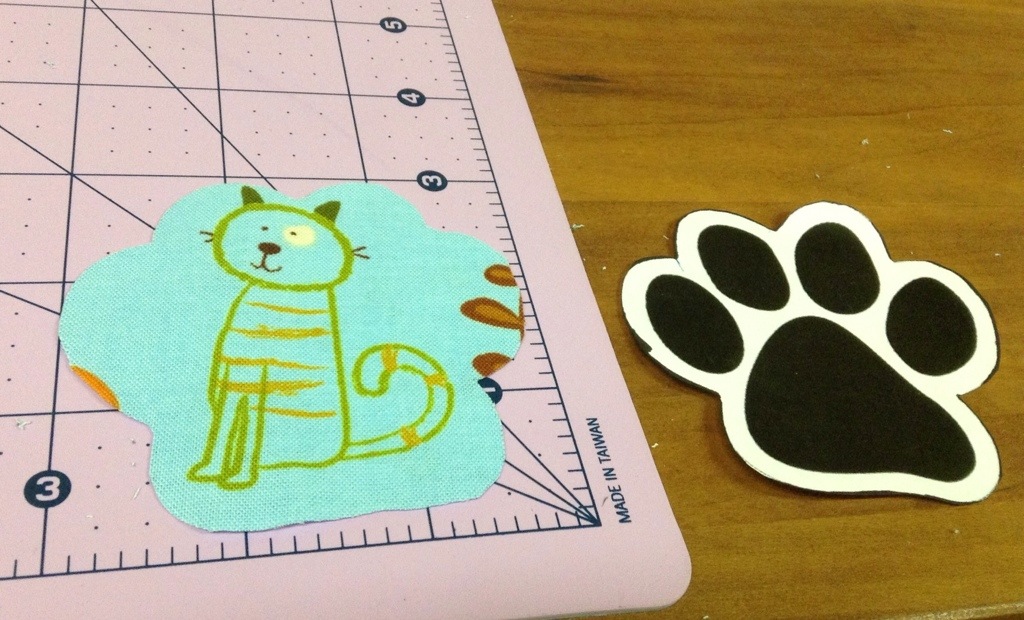
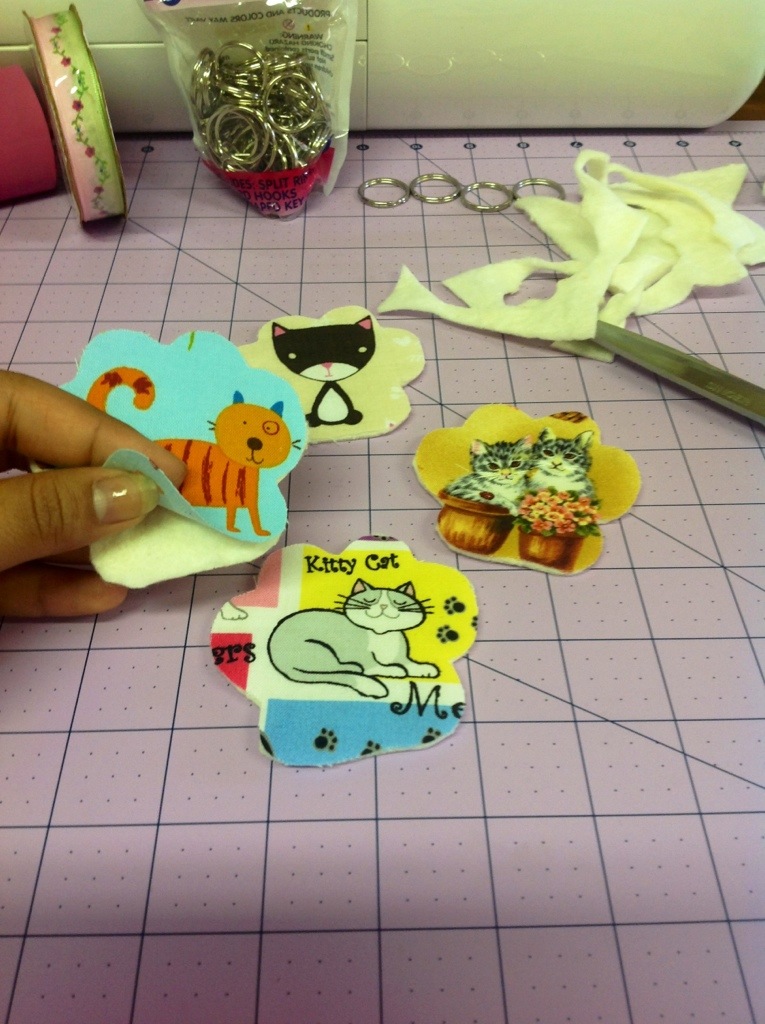
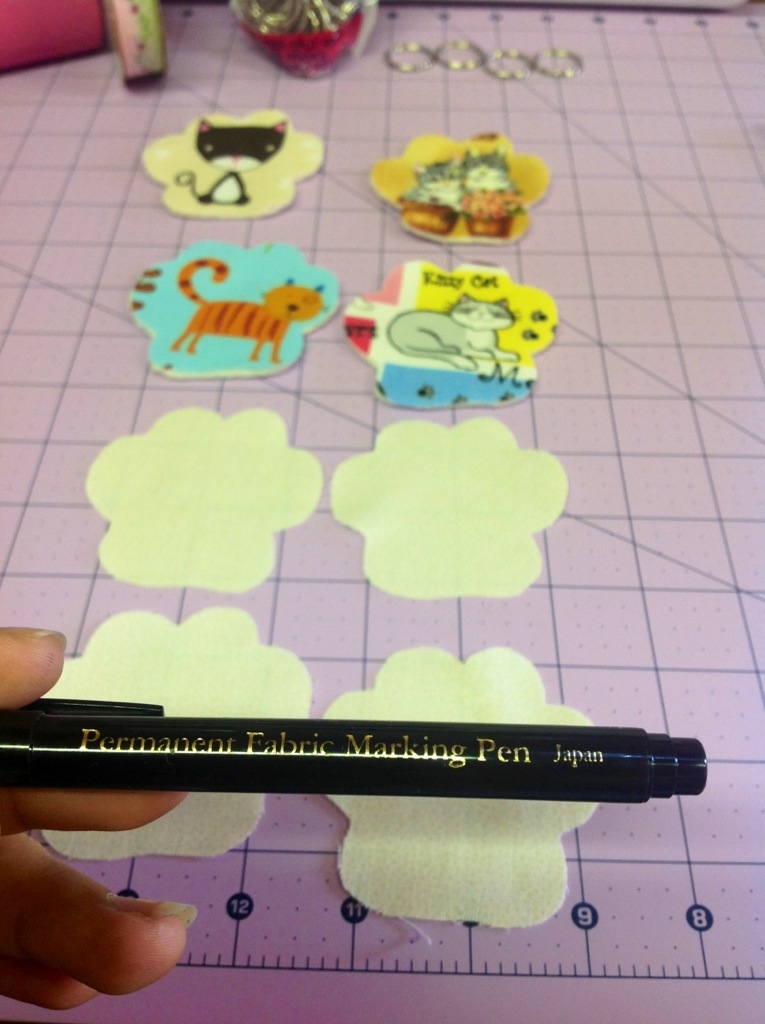
2. Trace your design onto your fabric with your removable fabric marker. I like to use this friction pen, the markings come off by simply ironing your fabric when your done utilizing the pen markings. You are going to have to cut two pieces of fabric for one keychain. I used kitty themed fabric for the front and a solid cream for the back. You can have fun and mix and match your front and back to your liking.
If you are using fabric with prints, make sure you trace your design with the print centered on your cutout. I found that tracing on the back of the fabric is the easiest way to center and trace your cutout.
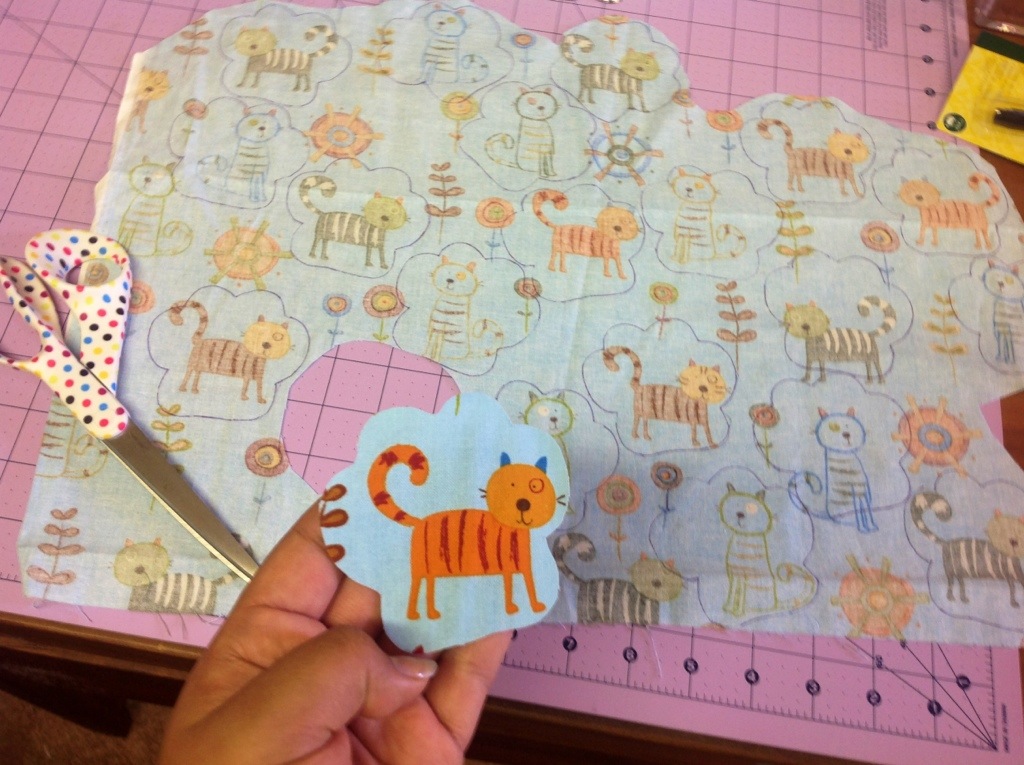
3. Cutout all of your fabric and get ready to iron your pieces.
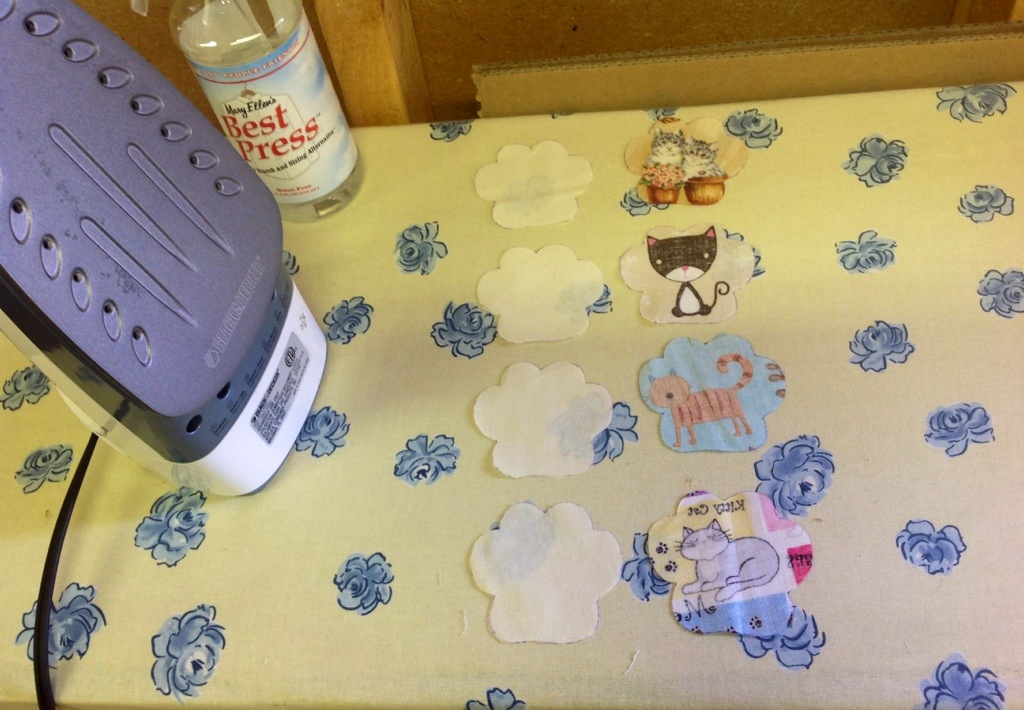
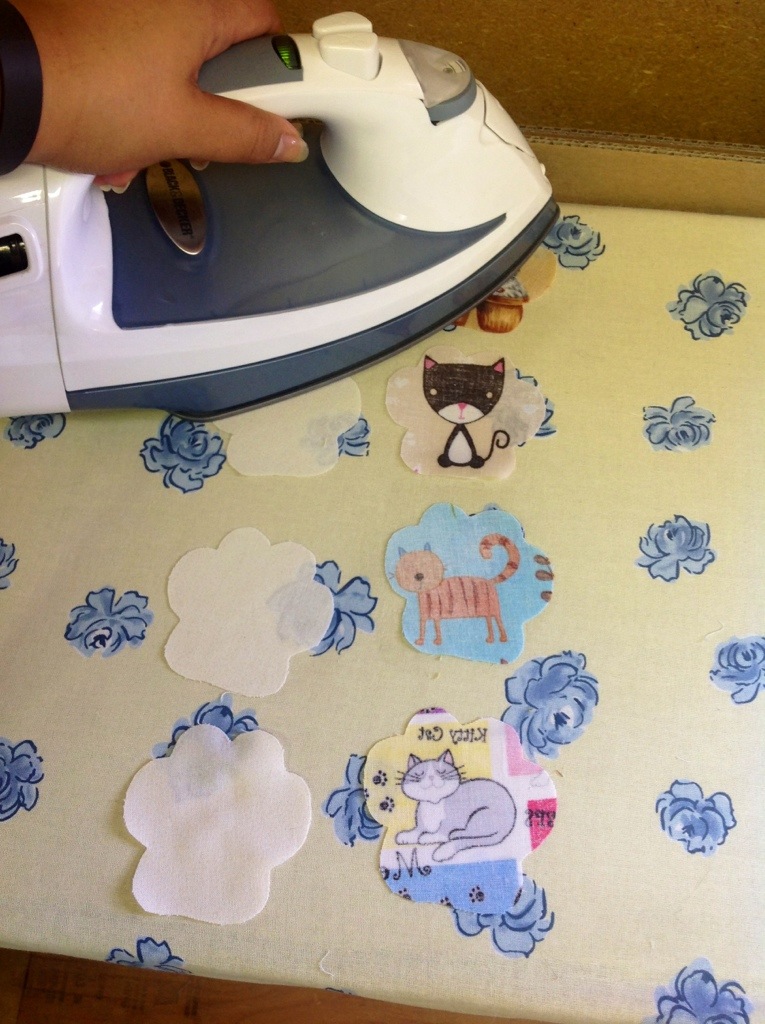
4. I like to use this light starch, Best Press, on my fabrics, just spray and iron away!
5. After getting my paw prints crispy straight, I lay them on my scraps of batting to prepare to cut. You will only need one piece of batting per keychain. I simply placed the paw prints on top of the batting and cut around the paw print. Giving me a perfect sized batting for my keychains. 🙂
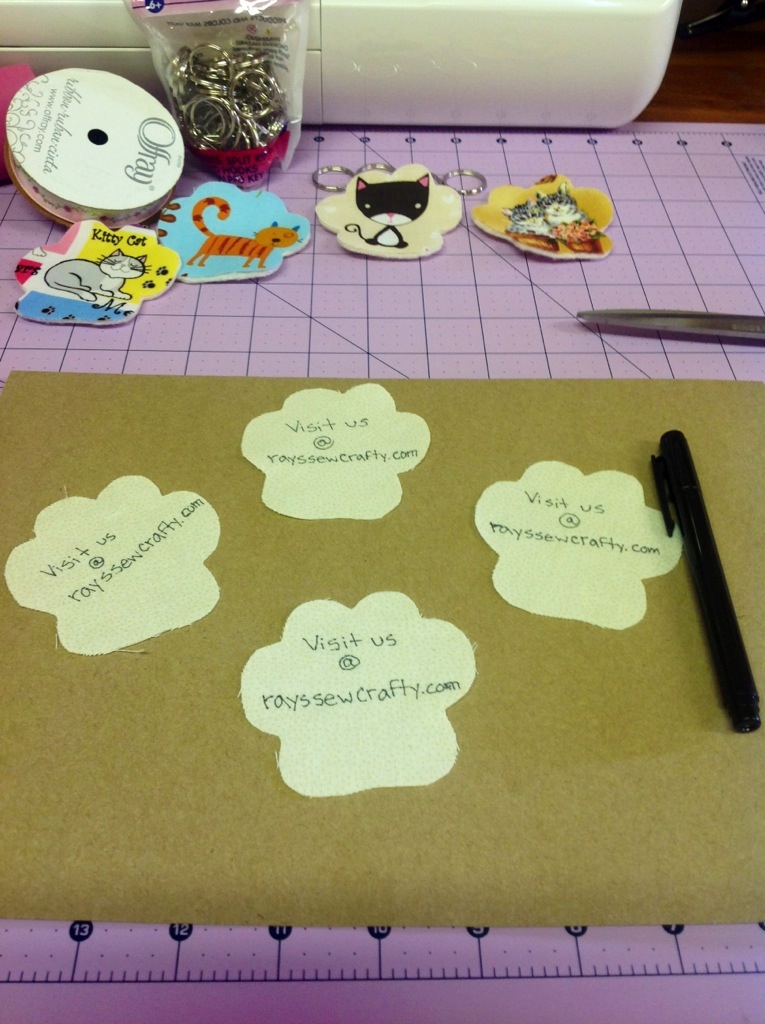
6. Write your blogs domain on the back or leave blank if you’d like.
I decided to make these as promotional keychains to give out at the quilt festival , to my new friends 🙂
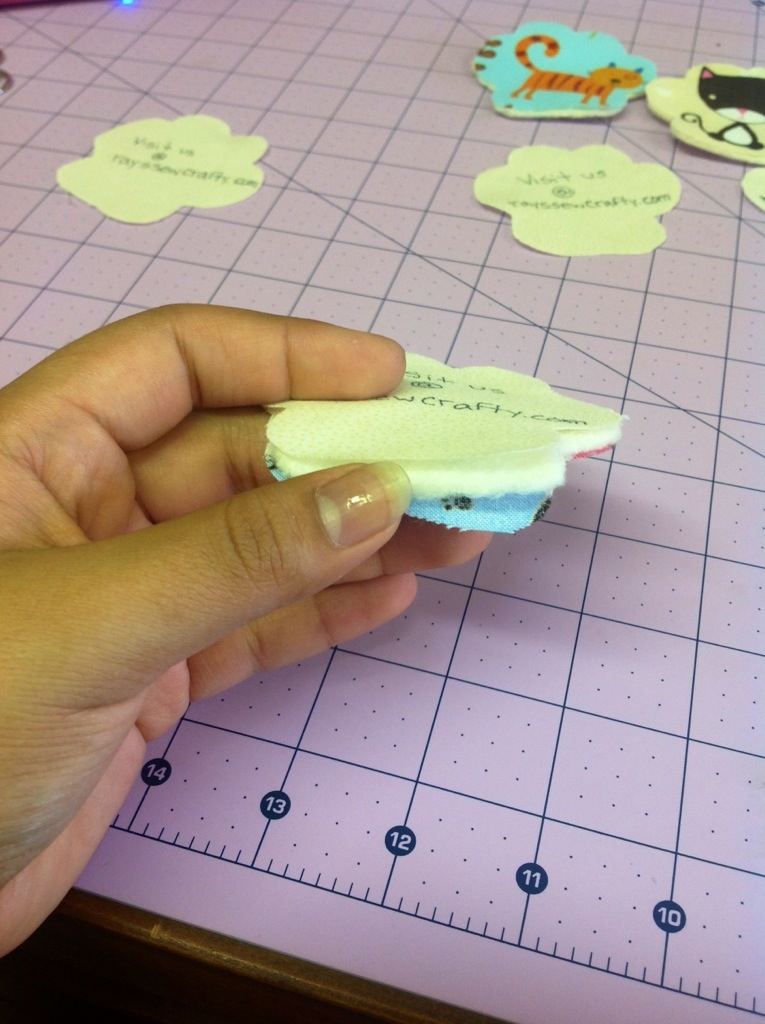
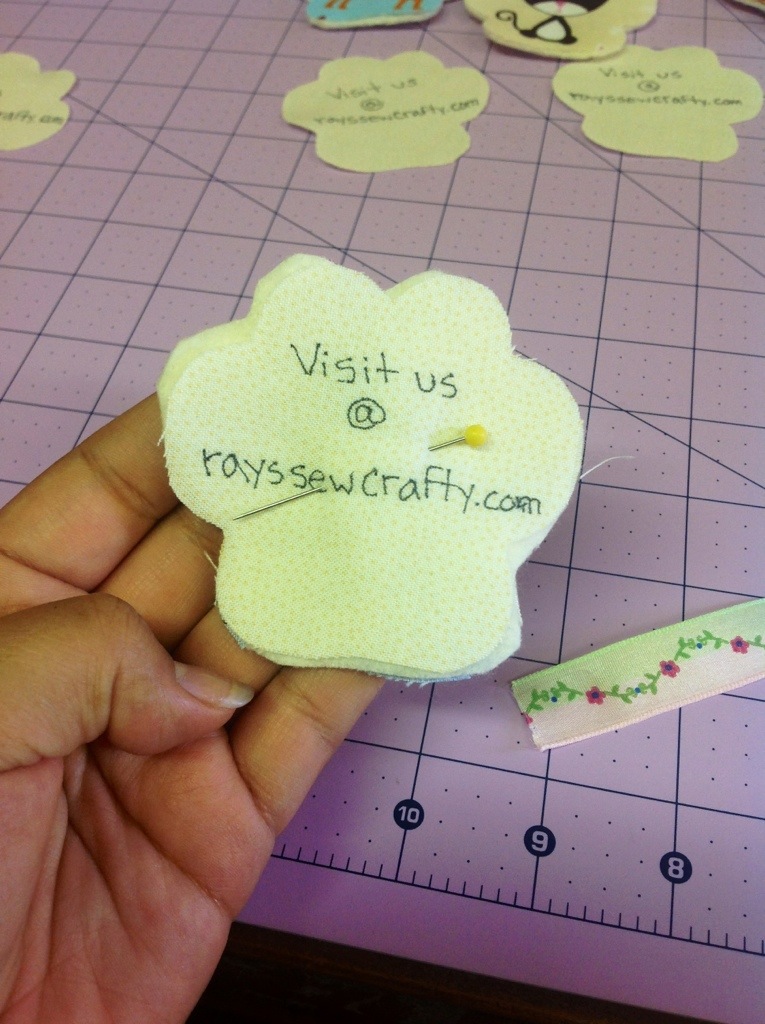
7. Sandwich your keychain: top, batting and bottom, then pin it to keep it from moving when you sew it together.
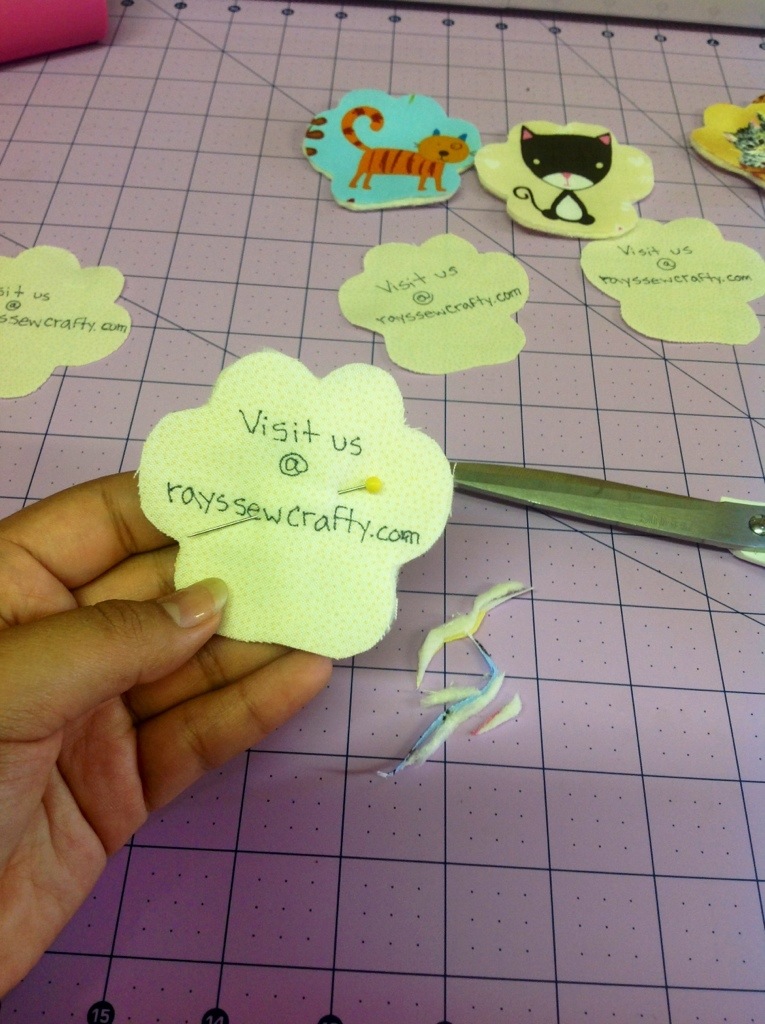
8. Trim any edges if you need to.
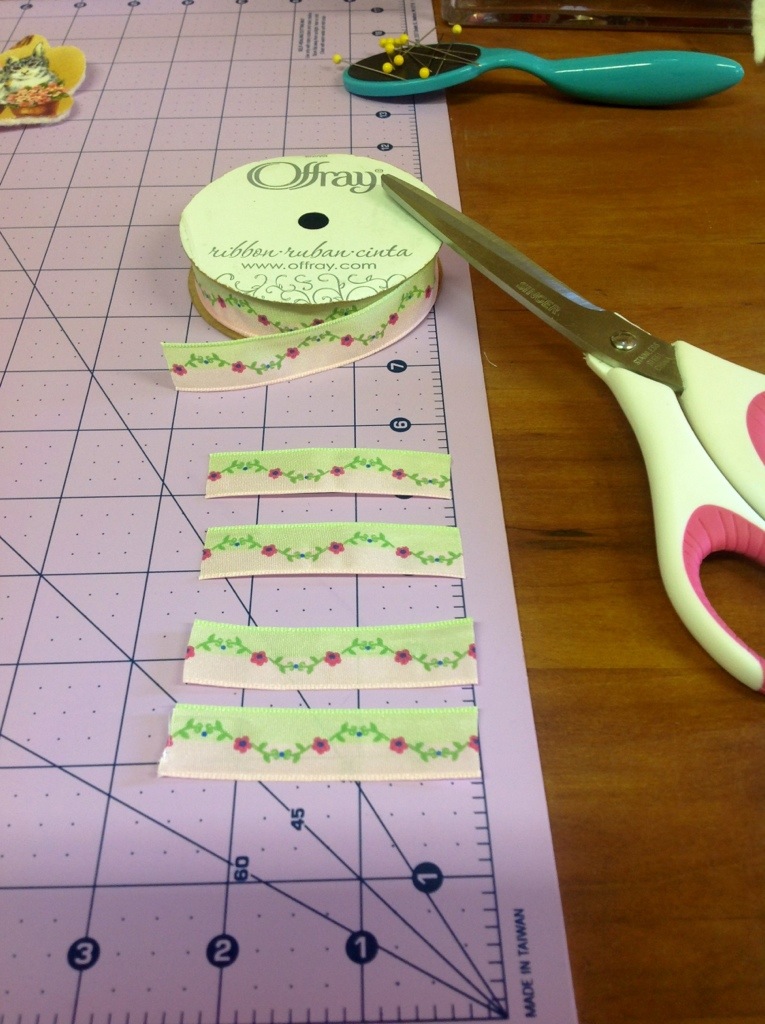
9. Grab your ribbon, doesn’t matter how wide it is, I chose to use this thin ribbon. I cut pieces 2-1/2″ long and slip a keyring in each ribbon, fold in half and prepare to sew.
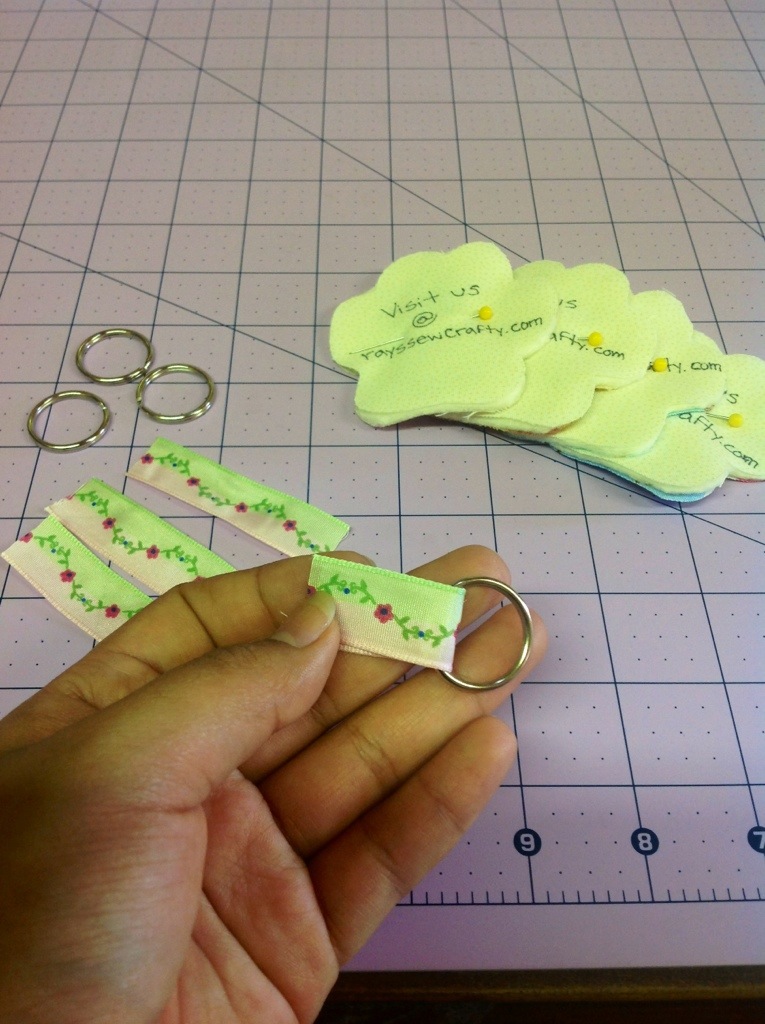
10. Align your ribbon edges and sew them together. Trust me, this will help when you’re sewing your keychains together: one less thing to worry about shifting out of place!

 11. Now you sew your keychains together, there’s two ways to do this: an easy way and a hard way.
Of course, I constructed my keychains the hard way FIRST until finding out the easy way AFTER.
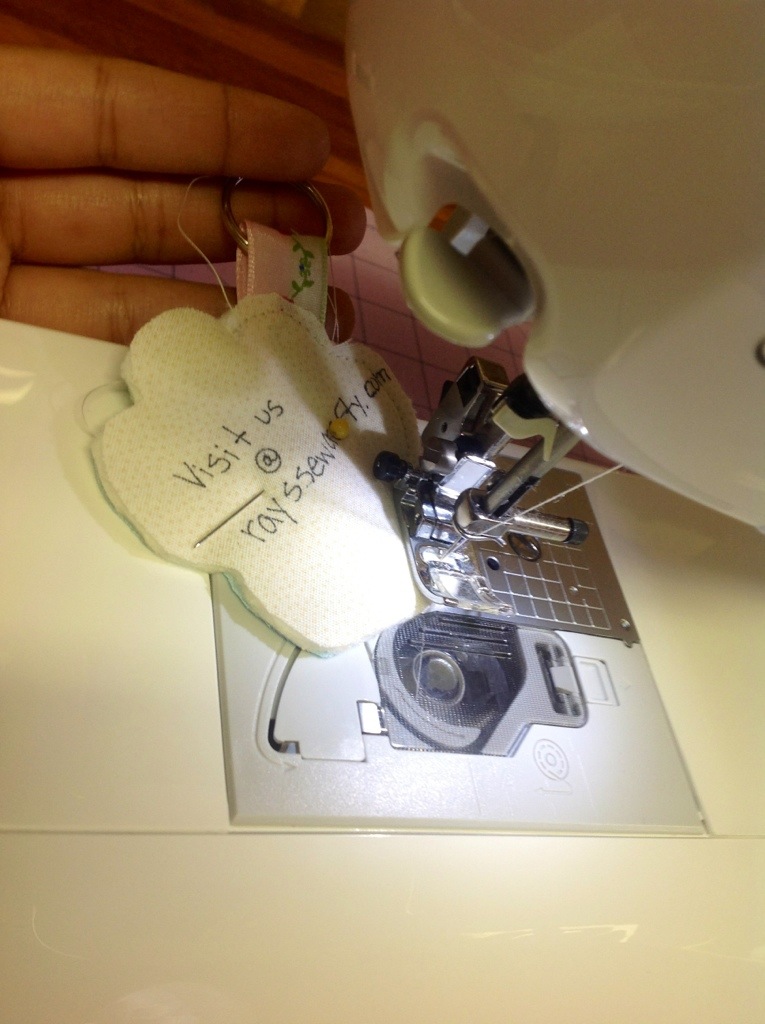
I first sewed all along the paw print and left a quarter inch opening to slip in the ribbon with the keyring…which fought me the entire time I was slipping in the ribbon. ![]()
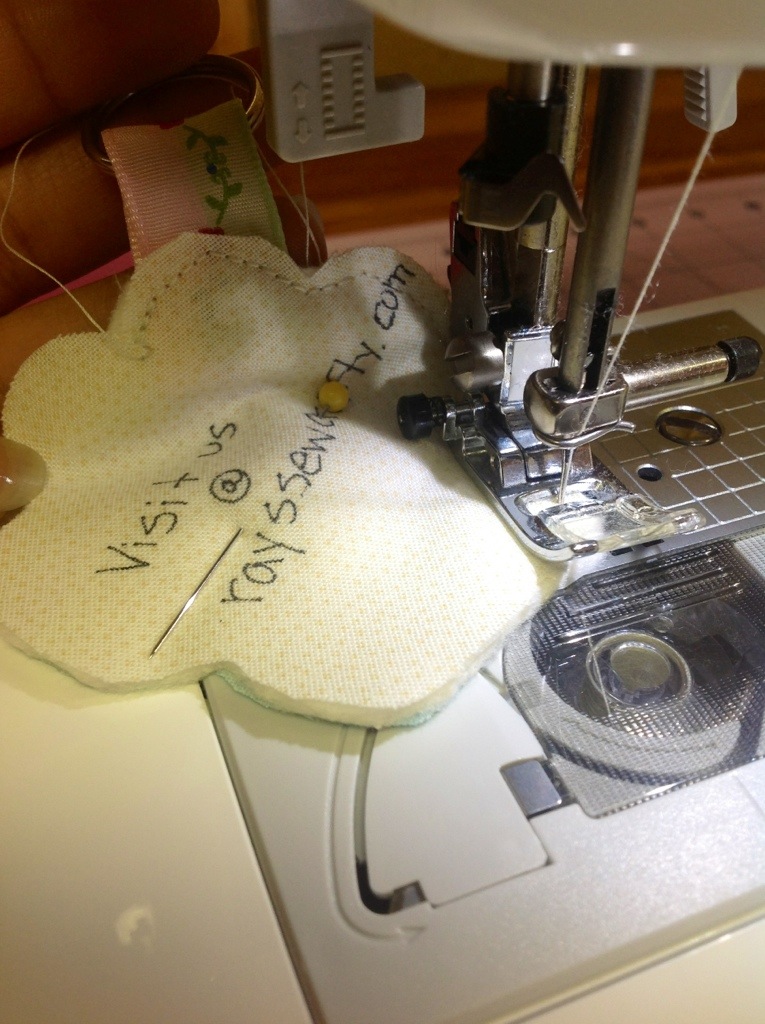
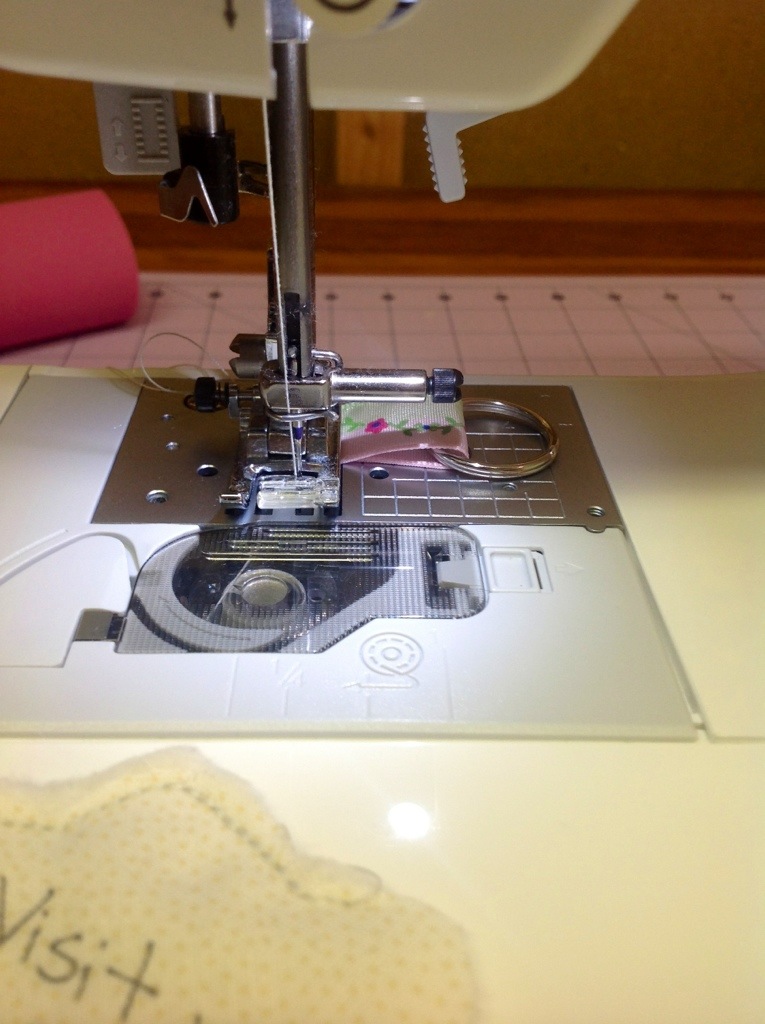
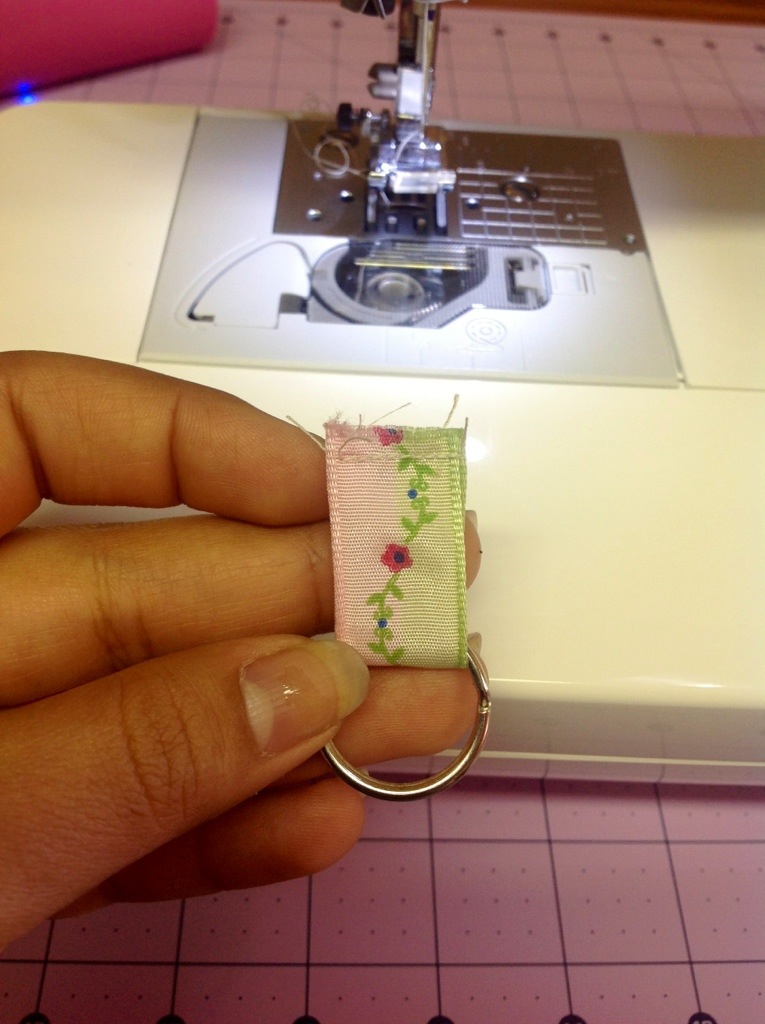
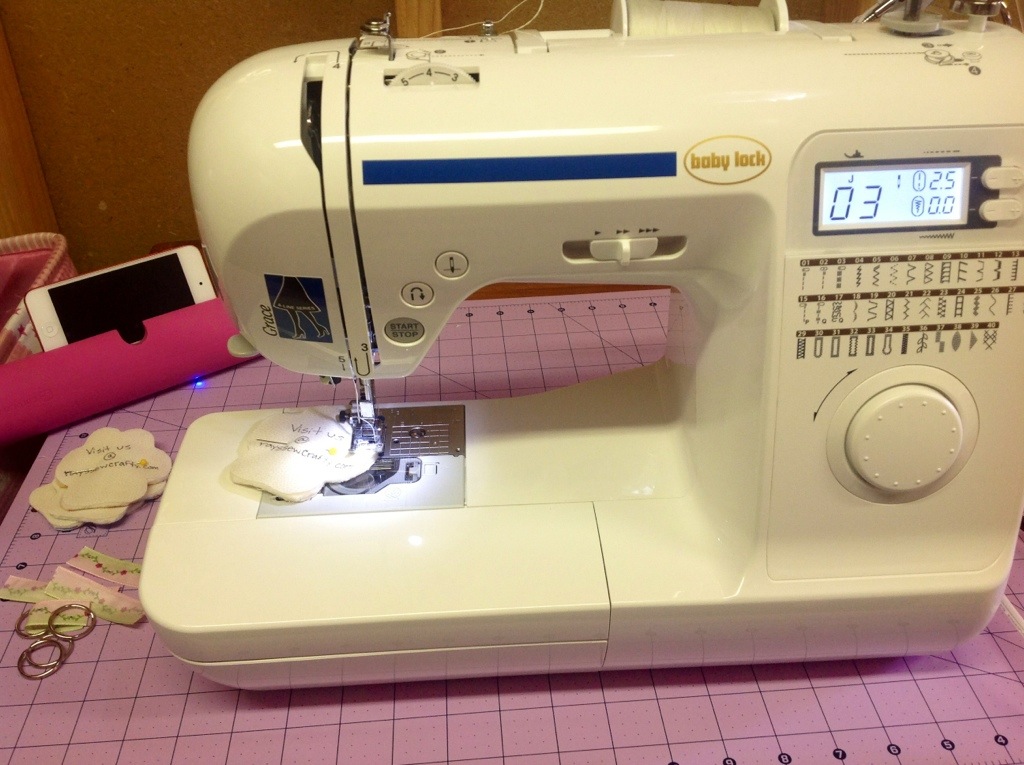
I then sewed the keychain STARTING with the end with the ribbon ALREADY sandwiched with the keychain: the easy way to sew your keychains together! 🙂 I chose to use the basic stitch on my sewing machine, not really sewing at a 1/4″ seam, just around the edges the best way I could, and all done!
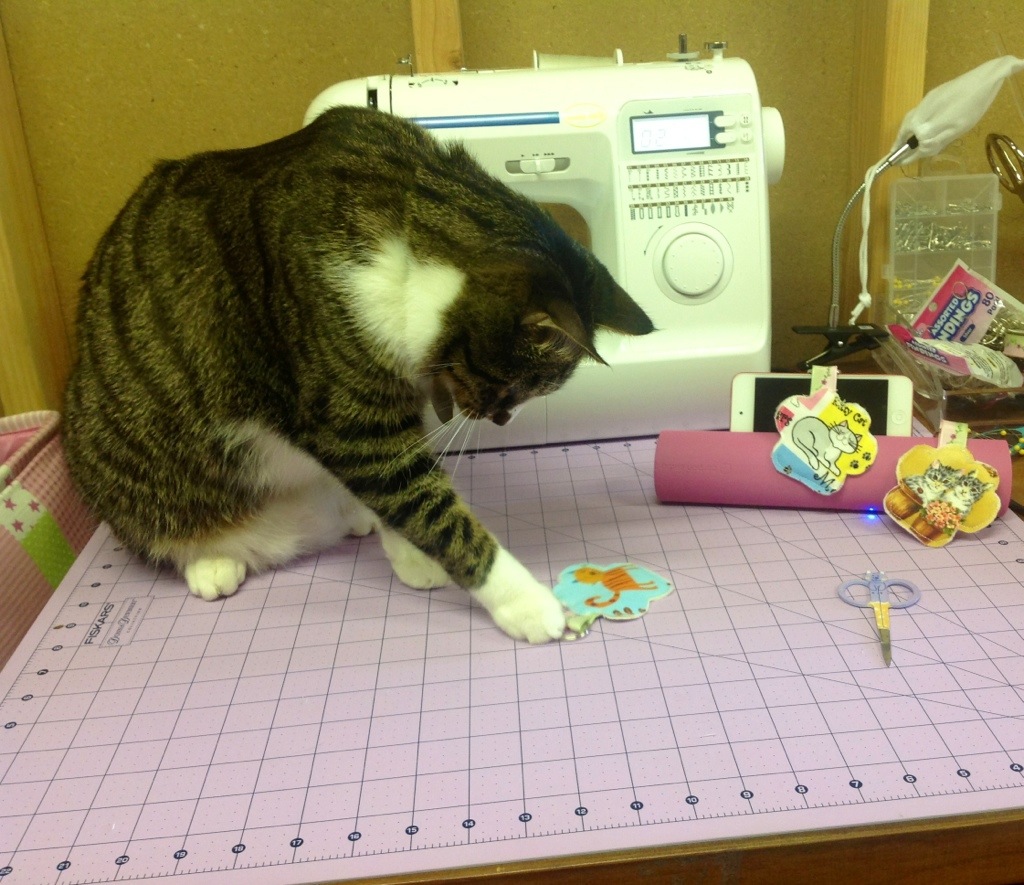
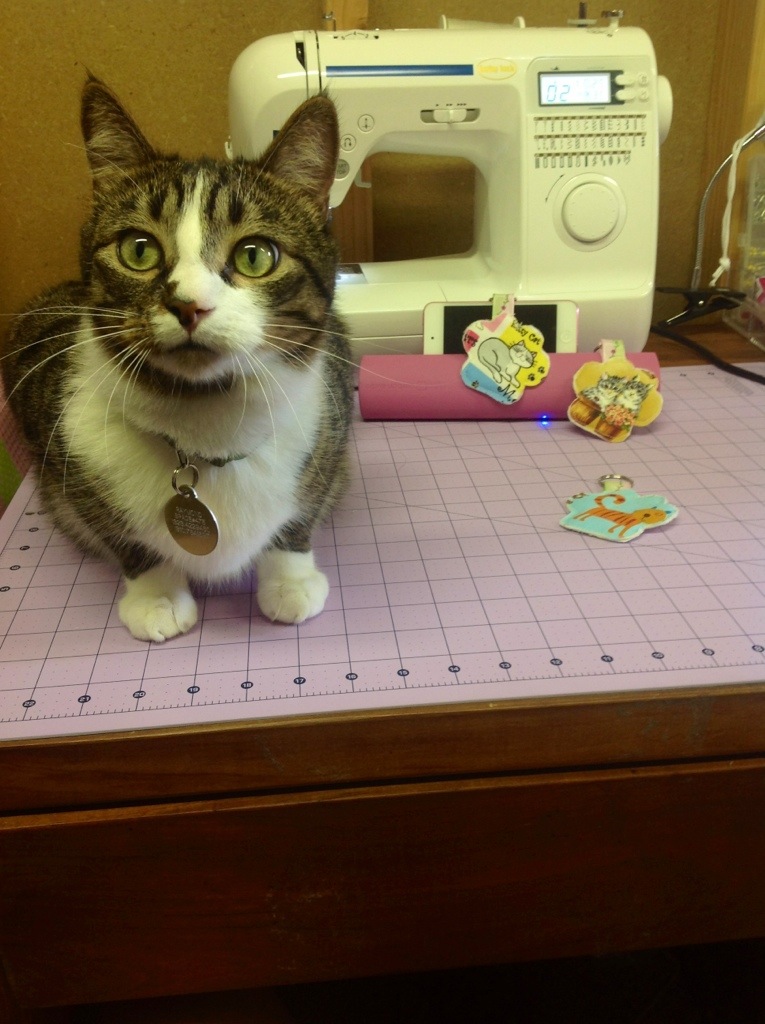
Raymond really liked these new keychains, as he just saw new toys 😛
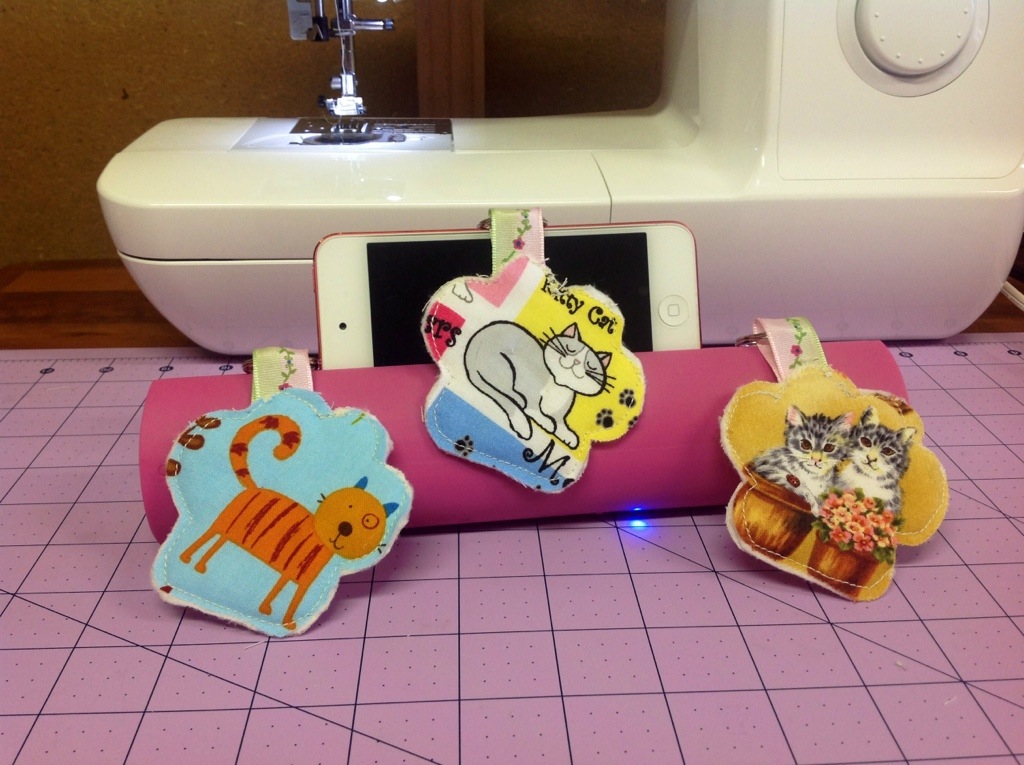
I love my little kitty keychains, I was able to talk to lots of nice people at the quilt festival interested in my blog and I was able to give them a fabric keychain with my blogs info, neat, right?! 🙂
I’m excited to post about the quilt festival, I’ve encountered such heartwarming people and bought a handful of beautiful kits and even got some patterns to feature on my blog! So please stay tuned for more pictures and information on the quilt festival and my new projects coming soon! 🙂
Thanks for reading, I appreciate the support<3
Toodles for now,
Diana and Ray<3

Thanks for sharing this information. I was looking for this information from a long time.
LikeLike
Wow, this is so cool and such a great idea. I loved your tutorial. Again thank you for posting.
LikeLike
It really uses up those scraps and bits of fabric and batting! 🙂
Thank you for all of your kind words!
LikeLike